Posts in category 'cooking'
- (https://b-ark.ca/emU2A4)
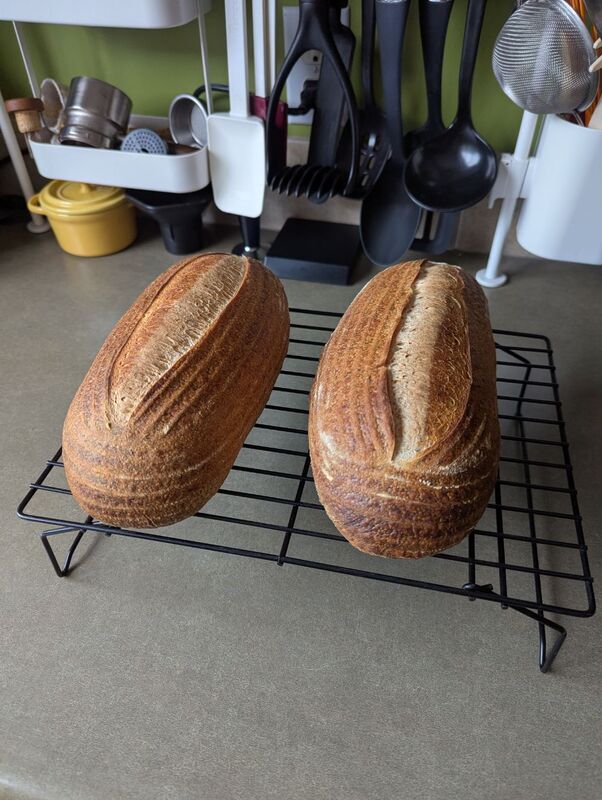
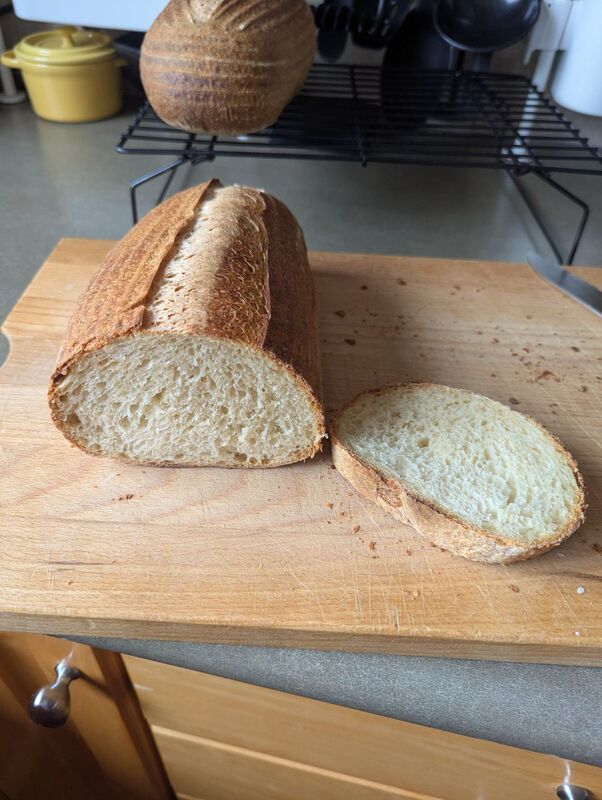
Getting better! Finally picked up a couple bannetons which really helps with shaping, and I also avoided over-proofing this time around. Still not too sour yet, but darn tasty!
- (https://b-ark.ca/Q2iqM6)
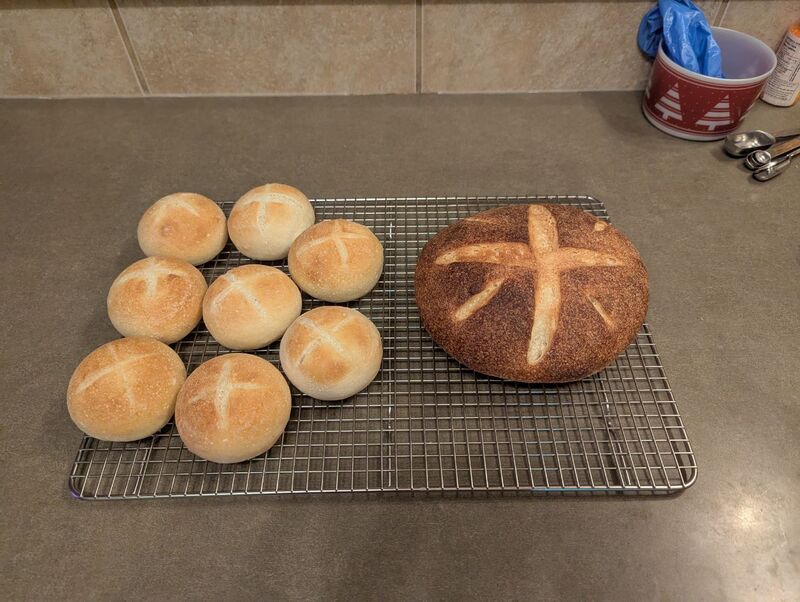
First sourdough!
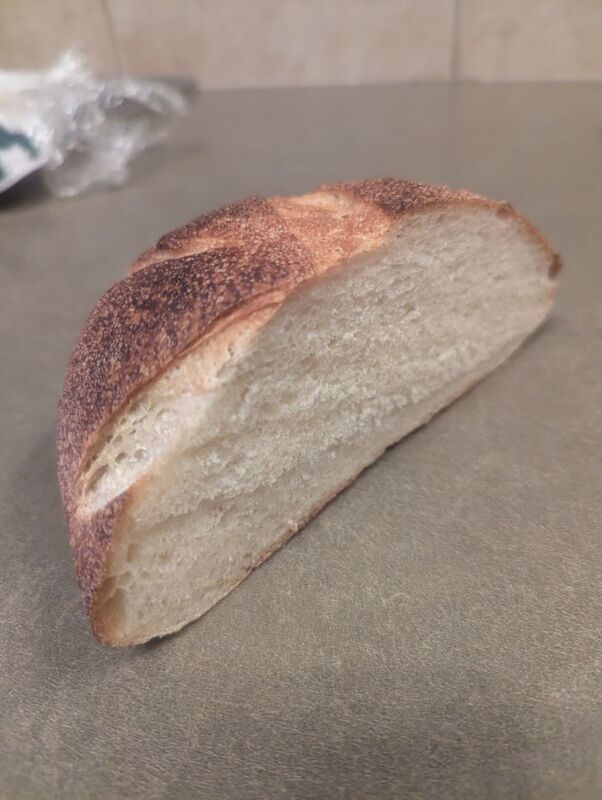
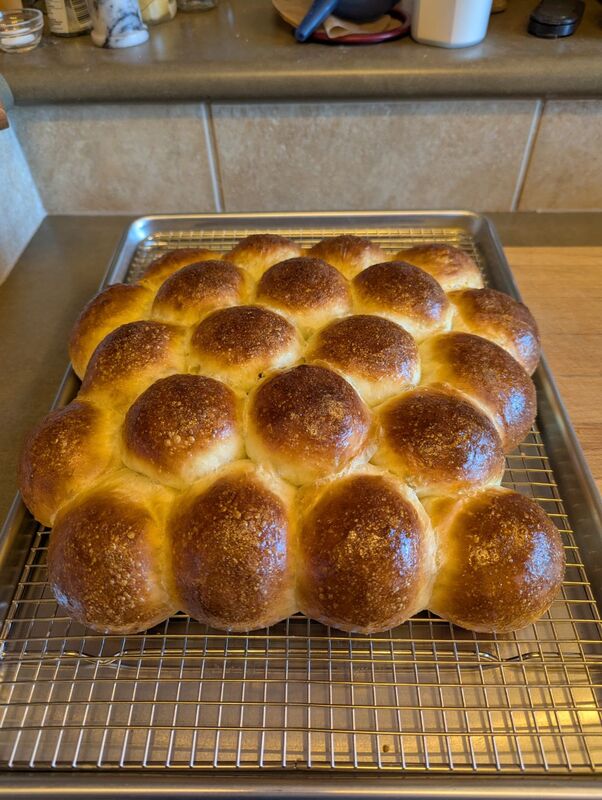
Crumb is light, cool, and creamy, just tighter than I’d like due to a combo of under-proofing, poor shaping, and issues loading the loaf onto the steel. I also need to work on my scoring technique.
The rolls could’ve used more heat at the start to get a darker crust.
Flavour is a very mildly tangy French-style lean bread.
Not my best, but given I’m rusty, a good start!
- (https://b-ark.ca/YKWk4M)
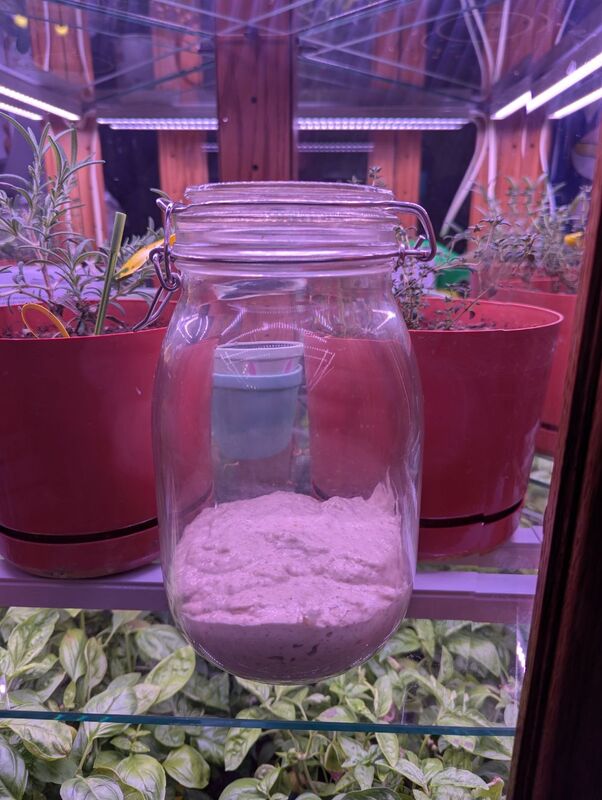
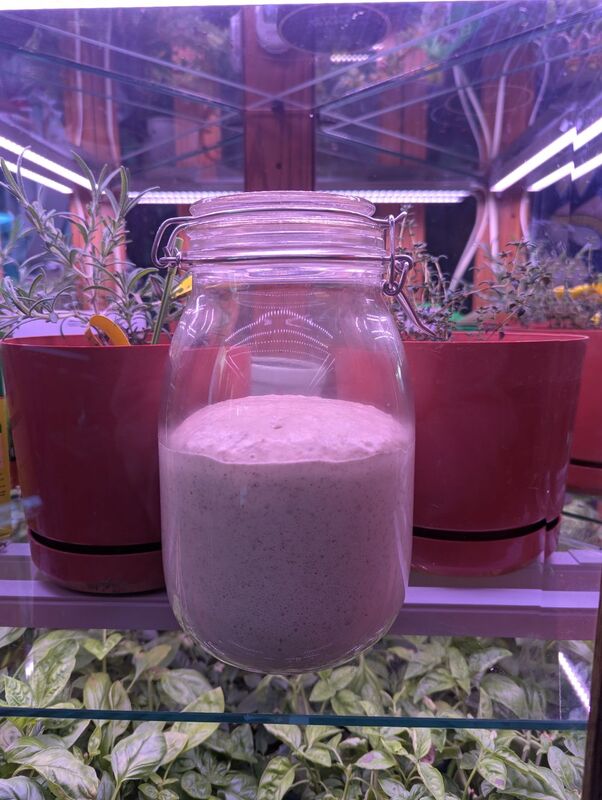
In the last two refreshments of the starter I added 25% rye flour and 1/4 tsp of unpasteurized apple cider vinegar to bring down the ph. I can’t tell if the yeast suddenly woke up or if the AAB are just going to town…
- (https://b-ark.ca/8M_aOi)
After a years long hiatus I decided it was time to get back into bread baking. As part of that return I’m bootstrapping a new sourdough starter, and I forgot how vigorous the false activity is in the first couple days as bacteria pull down the pH in the starter and make the environment suitable for wild yeast. The sponge I prepped doubled in the first 24 hours and then the next 12. It’d be easy to be lulled into thinking this thing was ready to bake with!
- (https://b-ark.ca/SqK6AQ)
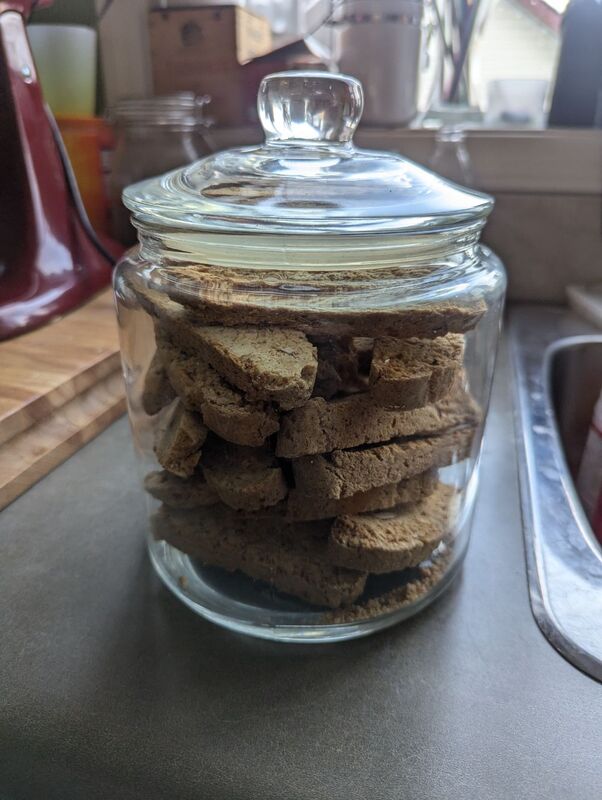
First attempt at (anise flavoured) biscotti, and I’m not standing on modesty, here: crushed it! I’ll definitely be making more of these once this supply has run out.
- (https://b-ark.ca/KGu4Eg)
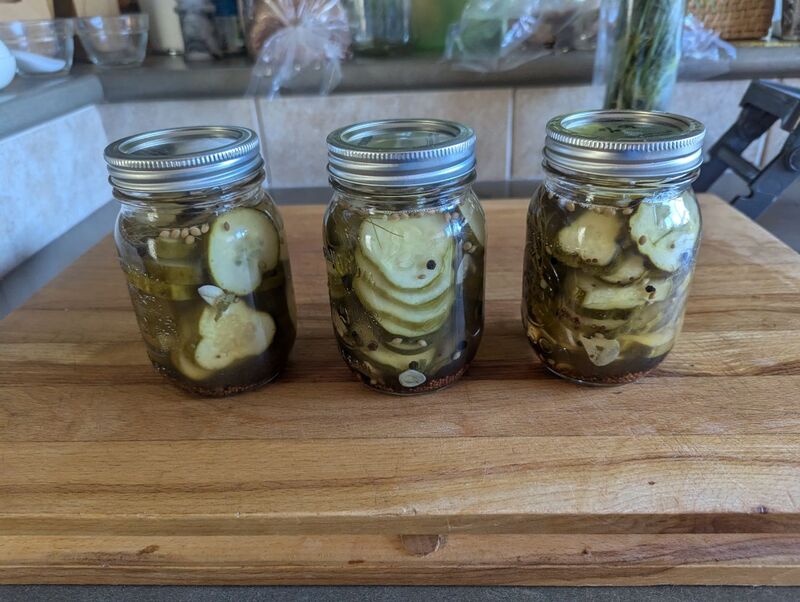
First batch of fermented pickles are done (well, almost, left one jar on for a bit longer)! These are 10% vinegar and a 3% brine, fermented for 10 days, and they came out just perfect.
They’ll now go into the fridge for long term storage, but will not be heat processed as that kills off all those lovely lactobacilli that I worked so hard to cultivate!
Sweet Sweet Sourdough
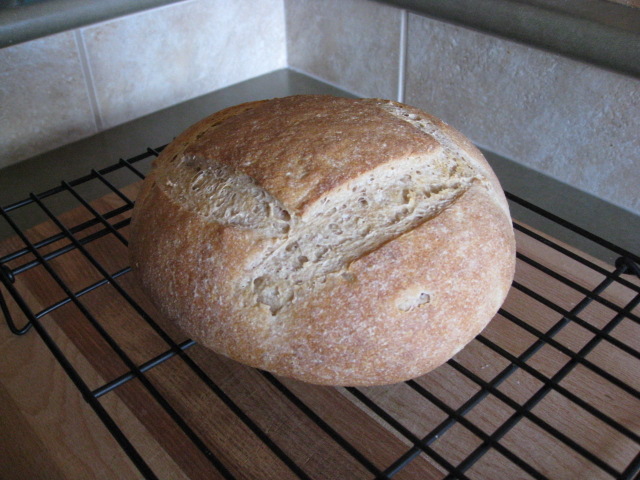
Well, I did it! Granted, it took two attempts… the first loaf… well, let’s just say it didn’t go terribly well. But the second one turned out very good!
Looks pretty nice, eh? The crumb is a bit on the tight side, but the flavour is nicely sour, and the crust and crumb are chewy, which I kinda like, actually. Should make some mighty fine sandwiches!
Hello World, Meet Ted
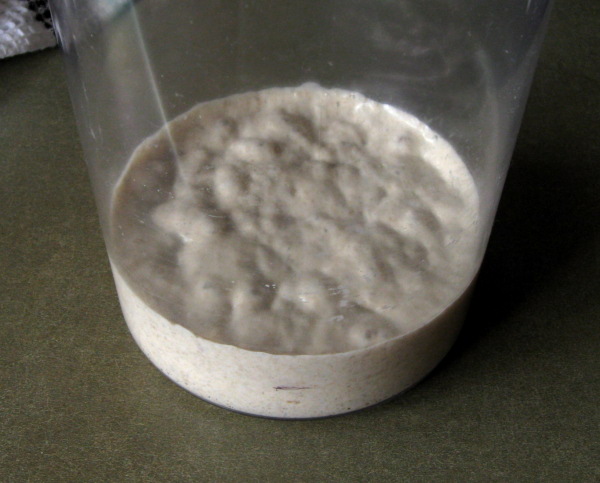
Well, everyone, I’d like to introduce my new friend, Ted:
Yup, my starter lives! And his name is Ted.
For those interested in the gory details, I used the recipe from here. 24 hours in, things looked bubbly. 36 hours in, it was really bubbly. Then the drought of days 3-5… it smelled quite sour, but there was virtually no bubbling to be seen.
At this stage, it felt like things were settling in to a rut, so I made a few adjustments, modifying the feeding as follows:
- Switched from 75%/25% white/rye ratio to 50%/50%.
- Increased the hydration from 100% to 120%, give or take.
Two days later, and you can see the results. It smells lightly sour, yeasty, and it’s doubling in 8 hours. Woo! So tomorrow, it’s sour rye… I hope.
I'm Taking the Plunge
Yup… I said I didn’t have the attention span to maintain a sourdough starter, and, well, I probably don’t.
But I just gotta try it.
As such, I now have a plastic container in my oven, the door propped open with a towel and the light on, containing a 100% hydration blend of organic white and dark rye flours. Here’s hoping it comes to life…
Fun with Naan
If anyone’s had good quality Indian food, they’ve probably experienced Naan, a classic Indian leavened flatbread. Pair it with a good curry and there’s just nothing like it… and, unfortunately, it’s also incredibly difficult to replicate at home. Traditionally, Naan is baked in something called a Tandoor, a vertical, clay oven heated by charcoal which can reach upwards of 900F! To bake naan, the dough is flattened into a teardrop shape and then stuck to the inside wall of the oven, where it bakes for mere minutes before coming out piping hot.
Of course, no one is going to have a Tandoor at home, and so replicating Naan at home is basically impossible. However, you can get pretty close:
I got the recipe from a lovely woman named Manjula. I don’t actually know who she is, but she has a website, and apparently posts videos on youtube, including this Naan recipe. Now, obviously the key to good Naan is blazing hot temperatures, and it turns out the best way to achieve this at home is with a baking stone. If you don’t have one, get one. You’ll love it, trust me. For pizza, there’s nothing like it, and it can also be used for artisnal breads, and as it turns out, Naan, too.
As for the recipe, it’s pretty straightforward (BTW, if you want the volumetric measurements, just check out the video):
1 tsp active dry yeast
1 tsp sugar
170g warm water
300g flour
1 tsp salt
pinch baking soda
2 tbsp oil
2 1/2 tbsp plain yogurt
The following directions are my method of putting the dough together, but really, there’s no bad way. Just make sure you activate the yeast before doing anything else. Anyway, here’s how I put it together:
- Combine the water, sugar, and yeast, whisk, and set aside to activate.
- Combine the dry incredients and whisk together to combine.
- Dump out the dry onto the counter and make a nice, big well.
- Put the yeast mixture, oil, and yogurt into the well and combine with a fork.
- Gradually incorporate flour with a fork until it comes together as a dough.
- Kneed for a minute or so, just a few strokes. Note, the dough will be pretty wet, making this process a bit… messy. Manjula suggests putting a little oil on your hands.
- Let the dough rise 3-4 hours. Note, I usually rise an hour, degass, then rise one more hour. I’m impatient.
To bake:
- Put the stone in the oven and turn it up to 500 degrees, letting it preheat for a good 30 minutes, then switch the oven to the high broiler. Note: never put a cold stone in a hot oven!
- Divide the dough into 4-6 pieces, rolling into balls and dusting with flour.
- Baking in batches, flatten the pieces to 1/4” thickness (feel free to roll, but I like to use my hands). Then for each piece, dampen your hands, toss the dough between them, and then place the piece on the stone. Optionally, prick with a fork, otherwise they tend to inflate. A lot.
- Bake for 2-3 minutes, until spotty brown.
- Once done, take them out and brush with melted butter or ghee (clarified butter).
Look like a lot of effort? Trust me, it’s not so bad. And man… it’s worth it.
