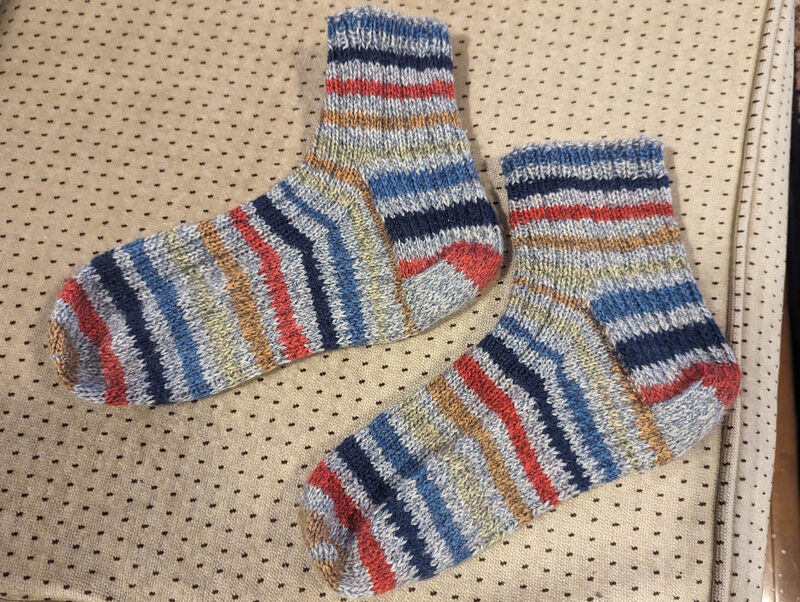
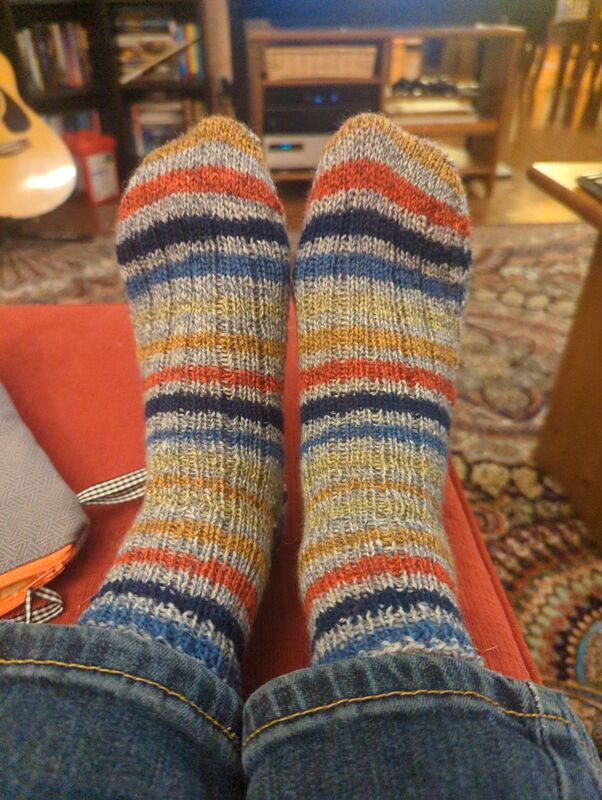
Ribs and Stripes
Apologies to anyone who follows me, but apparently this is now a sock knitting blog…
| Pattern | I made it up |
|---|---|
| Size | Men's size 7.5 |
| Needles | US 3 - 3.25 mm |
| Yarn |
Paton Kroy Socks, Blue Striped Ragg - 2 balls
|
This is an evolution of my sock experiment, this time incorporating a 3x1 rib along the top of the foot and up the leg, which adds a bit of texture and stretch to the fabric.
I’m also expanding these notes a bit so future me has a chance of remembering what I did.
As an aside, I am unreasonably proud of how well I matched up the stripes on these socks.
- Cast on 32 sts with Judy’s Magic Cast-on, increase to 60 sts arranged across four needles1 as 13, 13, 17, 17.
- For the ribbing across the top of the foot: (k3, p1)*, k2
- For the heel stitch across the bottom2:
- R1: k1, (s1, k1)*, k1
- R2: knit across
- At 13 cm from toe, begin gusset increases every other row, 10 per side, knitting across the increased stitches in subsequent rows3.
- At 18 cm from toe, knit flap in heel stitch across 16 sts and 24 rows.
- Turn, join up, decrease to 60 sts, and knit leg.4
- Finish with 4 cm of 1x1 rib
- Bind off with Jeny’s Super Stretchy Bind-off.
-
Have I ever mentioned I knit socks using five DPNs, with an increase to six during the heel flap section? Try it! Four DPNs is terrible as those 60 degree corners make the piece more awkward to work with and increase the odds of laddering. ↩
-
Note, as with the sock experiment, I periodically did a short row in the slip stitch section to even out the length. I did the turns before the last stitch in each direction. ↩
-
The issue, here, is we want to preserve the width of the heel stitch section, not expand it with the gusset. So, with the stitches arranged as described, on needle 3 I did a m1r after the first knit stitch, then knit until I reached the heel stitch section. Then I continued to the end of the heel stitch section, then knit to the second last stitch of needle 4 and performed a m1l. I did this section visually but you might want to use stitch markers to indicate the start and end of the heel stitch section. ↩
-
On the last decrease round I actually decreased twice on the same side so that when I resumed the 3x1 rib, the purl stitches would line up with the knit stitches in the heel stitch section. This ensures the ribbed texture carries through. ↩
Likes
-
{% for webmention in webmentions %}
-
{{ webmention.content }}
{% endfor %}
No bookmarks were found.
{% endif %}Likes
-
{% for webmention in webmentions %}
-
{% if webmention.author %} {% endif %}
{% endfor %}
-
{% for webmention in webmentions %}
-
{{ webmention.content }}
{% endfor %}
No links were found.
{% endif %}Replies
-
{% for webmention in webmentions %}
-
{% if webmention.author %} {% endif %} {% if webmention.content %} {{ webmention.content }} {% else %} {{ webmention.title }} {% endif %}
{% endfor %}
-
{% for webmention in webmentions %}
- {% endfor %}
-
{% for webmention in webmentions %}
- {% endfor %}
No reposts were found.
{% endif %}-
{% for webmention in webmentions %}
- {% endfor %}
No RSVPs were found.
{% endif %}-
{% for webmention in webmentions %}
-
{% if webmention.author %} {% endif %} {% if webmention.content %} {{ webmention.content }} {% else %} {{ webmention.title }} {% endif %}
{% endfor %}
No webmentions were found.
{% endif %}

